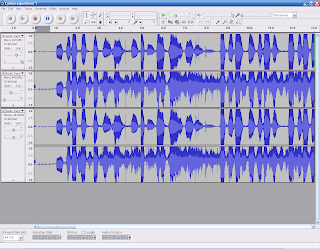
Post Processing of each instrument
Copy the recorded wave files and Audacity project file from my Desktop PC to my Laptop, where Linux is installed.
Now I am running in purely open source environment!!!
There are plenty of effects and filters provided by audacity. Among them, the most basic effects in music composing are the following:
- Compressor - reduce the dynamic of vocal or instrument
- Graphical Equalizer - modify frequency domain weight for Bass, Mid and Treble
- Reverb - effect which simulate all kinds of reverberation
- Delay - generate time delays on left and right channels
Apply different effects to different tracks so that they sounds better. For how to use these effects, you can search "music composition" on-line. This is not a music course...
Create drumbeat
As mentioned in the previous post, Hydrogen Drum Machine is used to create the drum beats.
On the bottom left of Hydrogen, it is the
pattern design window. Each row represent one part of the drum set. Each column represent one beat. All the column forms one bar, or one
pattern.
After designed many different patterns, put different pattern in the designed sequence to form the drumbeat for the song.
The Mixer button on the top left can open the mixer, which allows to add effects to individual drum part. normally, high pass the cymbals, band pass the snare drum and add reverb to snare drum.
The created drumbeat can be saved in *.h2song format, which is the Hydrogen project file type. However, in order to use such drumbeat in Audacity, it has to be exported as wave.
Final step
Import the drumbeat wave file into Audacity, adjust the volume, and Export as *.ogg format. Now, it sounds much better than the draft version.
Done!!!!!!!!!!!


